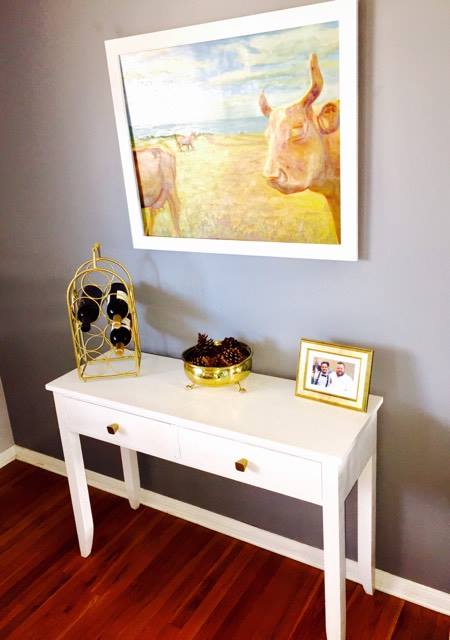
ENTRYWAY TABLE MAKEOVER
(Stripping the varnish with Citristrip & Repainting)
Level of Difficulty: Toe Pick
Time Frame: Approximately watching first two films in The Hunger Games Series
I found this amazing entryway table at Goodwill for under $10. I liked the look of it as is, however it had a few blemishes and I really wanted it to be white to compliment the rest of my home. Mission Entryway Table DIY commence!!!
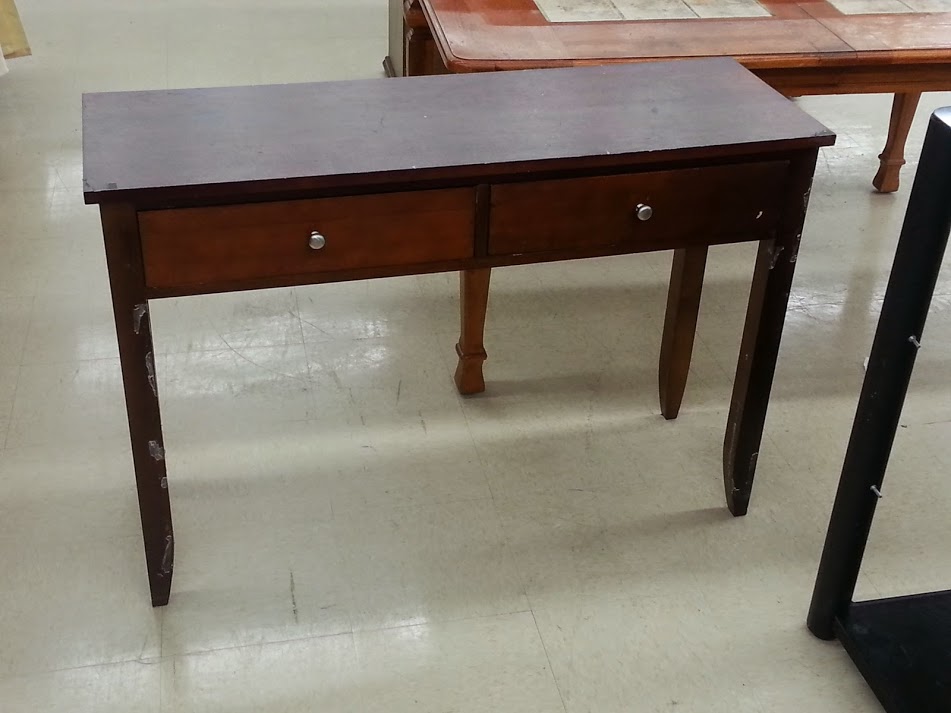
Naturally, my first instinct was “I can do that” even though I had no idea what I was about to take on. Story of my life, lol.
I did a bit of research and decided I was going to strip the varnish, and repaint it.
I went to my local Home Depot, and got some tips and product recommendations.
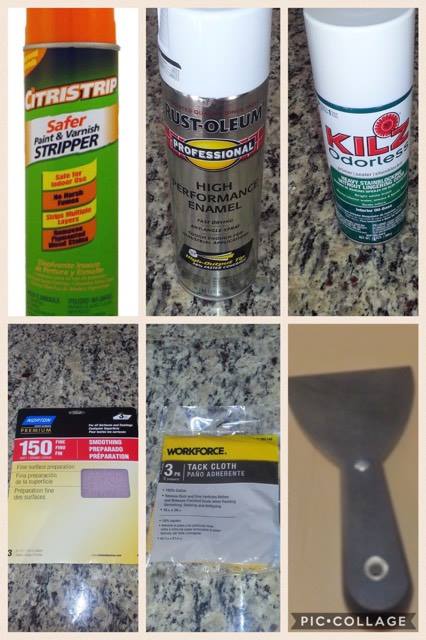
Materials:
- Rubber Gloves
- Protective Eyewear
- Tack Cloth (workforce)
- Cleaner (industrial strength)
- Citristrip Paint & Varnish Stripper (spray can or gel)
- ****MY NEW OBSESSION****
- Drywall Knife (plastic)
- Sandpaper (150 fine, or sandpaper block would work too)
- Paper towels
- Painters Plastic
- Killz (primer/sealer/stainblocker)
- Rustoleum Spray Paint (high performance enamel in white)
Instructions:
- Always wear protective gloves and eyewear when working with chemicals
- Make sure to put painter’s plastic or a tarp down or both. I would hate to have any of the chemicals I use eat through the plastic and ruin my floors.
- Clean Surface of furniture. (this was at Goodwill, so it was pretty dusty and there was a LOT of debris. Use an industrial strength cleaner if you need to)
- Spray a generous coat of Citristrip on the surface you will be working on
- I would recommend testing a smaller area first to see how it’s going to work for you
- It is somewhat like the consistency of yogurt and smells orange like and pleasant almost
- Allow it to sit for 30 minutes at least (it can remain on it for up to 24 hours)
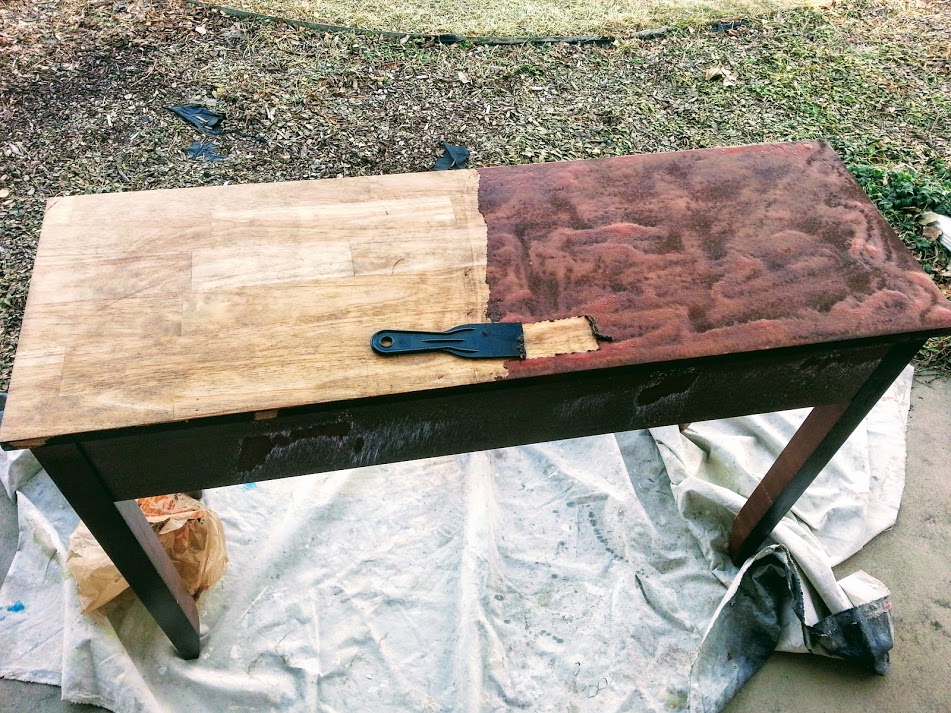
- Scrape the citristrip and varnish/paint using the plastic drywall knife from the surface going in the same direction of the wood grain. It came off much easier than I had expected:
- Rinse and repeat
- I just did the same thing to the remainder ofthe piece including legs and drawers (this will take as many steps as it takestil it’s stripped)
- Though this is quite easy, it’s a bit time consuming because you have to let it sit for 30 minutes after every coat
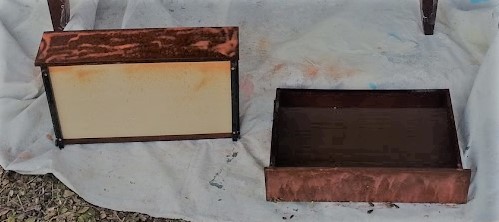
- Sand the piece
- Once stripped, I sanded it to make it nice and smooth.
- I did use sandpaper, however I ended up switching to a sanding block because it was easier, quicker and I am impatient.
- Just give everything a once over to remove any excess debris
- Clean the piece with the Tack Cloth to get any of the left over dust from sanding
- Clean the piece with the cleaner
- Let it dry completely
- Paint the piece
- I wasn’t super sure what I was doing because this was my first attempt at painting furniture.
- I went with spray paint, because I thought it would be more smooth and even (since completing this piece, I have painted furniture with brushes and rollers as well. All have pros and cons)
- I painted the piece with Killz first as a primer coat (went on easy and even…It almost looked finished with just the primer)
- I then painted with the Rustoleum paint
- Hardware
- I got 2 dresser knobs from Ikea and then proceeded to spray those gold for a pinch of drama.